PVTX
To add a new container or app to a Pantavisor-enabled system, you can use the pvr CLI in conjunction with the Pantavisor UI (pvtx). This guide demonstrates how to download a Docker container from Docker Hub, prepare it for a Pantavisor device, and then upload it using the local network.
1. Prerequisites
You’ll need a few things set up on your development machine before you get started:
- Pantavisor pvr CLI: This command-line tool is essential for managing Pantavisor-enabled devices and their applications. You can install it with the following command:
# Install Pantavisor CLI (PVR) curl -sL https://gitlab.com/pantacor/pvr/-/raw/master/install.sh | bash - Docker: You’ll also need Docker installed and running on your development machine to pull and manage container images.
2. Creating a New Pantavisor App
Here’s how to create the app package using the pvr CLI:
-
Create a working directory for your new app and navigate into it:
mkdir device-apps cd device-apps -
Initialize a new Pantavisor project in this directory:
pvr init -
Add your app from Docker Hub. In this example, we’ll use the ‘hello-world’ container:
pvr app add helloworld --from hello-world --platform linux/arm64This command pulls the ‘hello-world’ image from Docker Hub and prepares the necessary files for Pantavisor.
-
Add the new files to your project’s revision history:
pvr add . -
Commit the changes with a descriptive message:
pvr commit -m "added helloworld app" -
Export the app as a
.tar.gzfile. This file contains the container’s filesystem and the default configuration policies:pvr export helloworld.tar.gzThis command creates a compressed archive named
helloworld.tar.gz.
3. Uploading the App to the Device
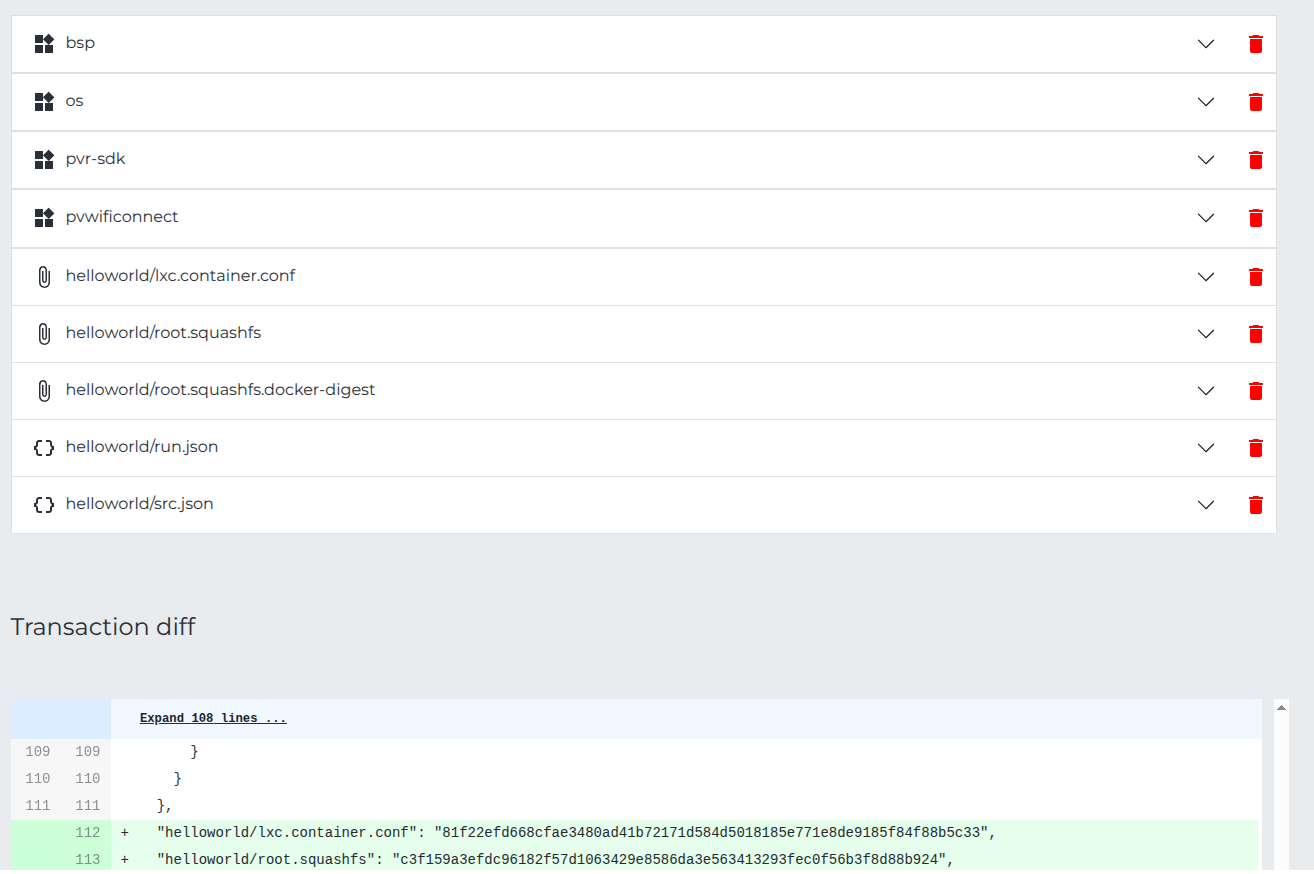
Now that you have your app package, you can upload it to your Pantavisor-enabled device using the local network and the pvtx UI.
-
Access the Pantavisor UI. Open a web browser and navigate to
http://<DEVICE_IP>:12368/app, replacing<DEVICE_IP>with the actual IP address of your device on the local network. This will bring you to the app management page. -
Begin a transition. On the web page, click on “begin transition”. This initiates the process of updating the device’s configuration.
-
Upload the
.tar.gzfile. Simply drag and drop thehelloworld.tar.gzfile you created earlier into the designated upload area.
-
Commit the transaction. Follow the on-screen prompts to commit the changes. The Pantavisor system will handle the rest. Check the serial console for logs, if a reboot is issue and an a debug shell is running a timeout will start before the reboot. Follow the instructions of the console to reboot the device.
-
Verify the update. You can check the device’s status and revision history in the pvtx UI to confirm the update has been successfully applied. You can also check the running apps on using the serial console with
lxc-ls.